Nostalgic Deep-Fried Bread Using Bread-Maker Prepared Dough
Hello everybody, it's Brad, welcome to our recipe page. Today, I will show you a way to prepare a distinctive dish, Nostalgic Deep-Fried Bread Using Bread-Maker Prepared Dough. One of my favorites. This time, I'm gonna make it a little bit tasty. This is gonna smell and look delicious.
Nostalgic Deep-Fried Bread Using Bread-Maker Prepared Dough is one of the most favored of recent trending foods on earth. It's appreciated by millions every day. It's easy, it's fast, it tastes delicious. They're fine and they look wonderful. Nostalgic Deep-Fried Bread Using Bread-Maker Prepared Dough is something that I have loved my whole life.
Many things affect the quality of taste from Nostalgic Deep-Fried Bread Using Bread-Maker Prepared Dough, starting from the type of ingredients, then the selection of fresh ingredients, the ability to cut dishes to how to make and serve them. Don't worry if you want to prepare Nostalgic Deep-Fried Bread Using Bread-Maker Prepared Dough delicious at home, because if you already know the trick then this dish can be used as an extraordinary special treat.
As for the number of servings that can be served to make Nostalgic Deep-Fried Bread Using Bread-Maker Prepared Dough is 5 servings. So make sure this portion is enough to serve for yourself and your beloved family.
To begin with this recipe, we must first prepare a few components. You can have Nostalgic Deep-Fried Bread Using Bread-Maker Prepared Dough using 5 ingredients and 8 steps. Here is how you cook it.
No matter where I look, I can't find the type of deep-fried bread I want...but I can never forget that taste...
So, that's what led to my recreation of it.
I recommend using paper towels in Step 4.
It'll prevent them from breaking apart.
They'll turn out crispy and springy as long as they are thoroughly deep fried. For 5. Recipe by Tonkorori
Ingredients and spices that need to be Make ready to make Nostalgic Deep-Fried Bread Using Bread-Maker Prepared Dough:
- 1 see Basic Rolled Bread
- 1 Kinako
- 1 Sugar
- 1 Salt
- 1 Frying oil
Instructions to make to make Nostalgic Deep-Fried Bread Using Bread-Maker Prepared Dough
- Prepare the dough from.
- Separate into 5 sections, roll into balls, then let rise for 15 minutes.
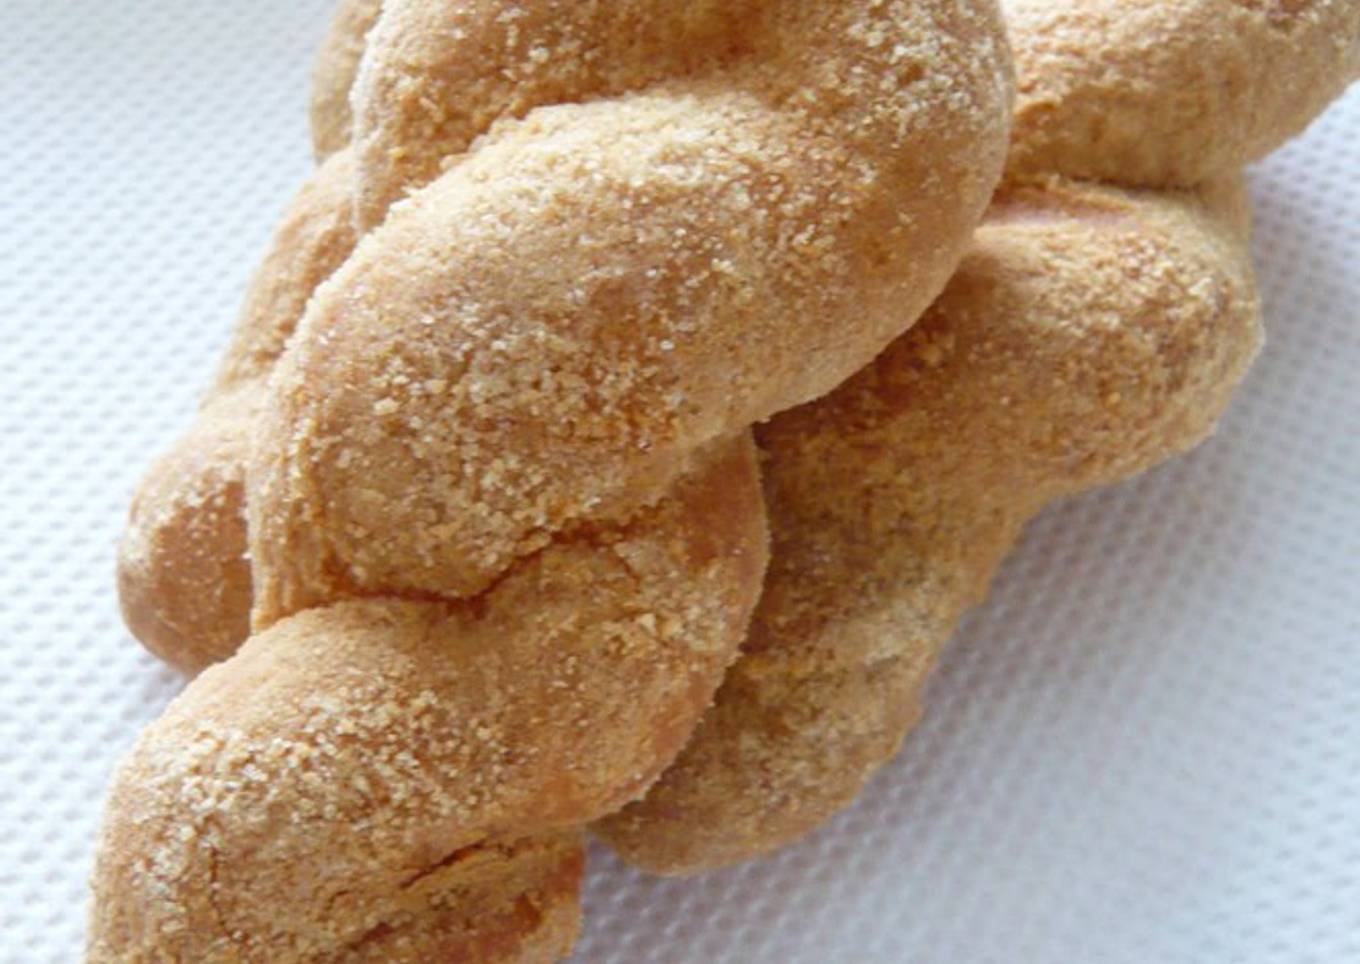
- Shape the dough (into your desired shape). I rolled each section into 25-cm long logs, brought the ends together, then twisted them.
- Let rise again (2nd prove); spritz with water, then let rise for 35 minutes in oven set to 40℃. To prevent the bread from loosing their shape, I recommend individually laying each one on a sheet of parchment paper.

- Deep fry in oil. They will expand, so allow enough room in the oil.

- Deep fry until golden brown as shown. Thoroughly remove excess oil.

- Put kinako, sugar, and salt in a nylon net bag, shake until even, then sprinkle on top of the donuts.

- Voila!
As your experience as well as confidence grows, you will certainly find that you have a lot more natural control over your diet plan as well as adapt your diet regimen to your individual tastes over time. Whether you want to serve a dish that uses less or more ingredients or is a bit essentially spicy, you can make simple adjustments to achieve this objective. Simply put, start making your recipes on time. As for standard cooking skills for newbies you don't need to learn them yet only if you master some simple food preparation techniques.
This isn't a full guide to quick and easy lunch recipes yet its excellent food for thought. Ideally this will certainly get your imaginative juices flowing so you can prepare tasty dishes for your family members without doing too many heavy meals on your journey.
So that's going to wrap this up for this special food Easiest Way to Make Favorite Nostalgic Deep-Fried Bread Using Bread-Maker Prepared Dough. Thanks so much for your time. I am sure you will make this at home. There is gonna be interesting food in home recipes coming up. Remember to save this page on your browser, and share it to your loved ones, colleague and friends. Thanks again for reading. Go on get cooking!


Comments
Post a Comment